Tuesday 2 September 2014

Crochet Roses Granny Squares Cushion Cover


I wanted to do a crochet cushion cover and found a pattern that you can pay for here Patterns

It's a really sweet granny square pattern and it was quite simple to make once you get the square down pat.  It didn't take that long to knock up a few in an evening.

I made all the squares and then joined them with the "join as you go" technique. You can learn the free tutorial  HERE.


I sewed a cushion cover, and then attached the completed granny square blanket to the front by sewing it with the sewing machine, careful to leave a row of stitches on the edge of the cover so that I could crochet an edge all around the cushion cover.


The crochet picot edging I learnt to do from a You Tube tutorial HERE


Crazy Quilting Cushion Cover Number 2

After making the first crazy quilting cushion cover I decided to make another one.

This time I wanted to add some hand embroidery to this project.

First I cut the background material to size. I grabbed my bag of scrap materials (this is a good way to use up all them little bits and pieces of material that I have saved) and went through and found some pieces that would suit. I also cut some additional pieces from some material I wanted to use in this project.


Then it's just a matter of sewing it all together, I used the sew, fold and press method. Just start in the middle and keep adding the pieces of material overlapping . Once it's all filled in, I then embellished with ribbon, hand embroidery and beads.

Crochet Sunburst Flower Wall Hanging

I came across this nice tutorial to make these sunburst flower crochet squares. I love the look of them and decided to make a little crochet wall art hanging.

 Here is the tutorial that I followed.Sunburst Flower Crochet tutorial.


First I made the circles.


Then I joined them using the "join as you go" method.


Once I had joined all the circles, I just crocheted around the border and added the tabs to hold the dowel.


Floral Textile Wall Art Hanging

Back in July I started sewing this wall hanging after many months of mosaicking. I wanted something bright and cheery to hang in my bedroom.

I got my sewing machine all set up to start on this project that I have had on my mind for some time now.
I only start with a rough idea as my design grows and comes to life as I create it.

This is my process.
- Sorted out the colours I wanted to use, then selected my textiles and cottons.
- Printed out some rough drafts of my design.
- Cut out some shapes and then played with the design.
- Started sewing some of my shapes onto the background.


I keep playing around with it adding leaves, moving them around until I have some thing I find visually pleasing to me. I pin them down and then just do basic straight stitch around them all to hold them all on to the background fabric. I then "free motion" stitch all around them, kind a like painting but with thread to add highlights and effects.


I keep adding leaves, flowers until I am satisfied with the design. I keep sewing and embellishing with threads, ribbons, beads etc.

I've finally got it all finished and hanging up in my bedroom now. I am very happy with it.


Monday 18 August 2014

Crazy Quilting Cushion Cover

I have some boring brown cushions in my lounge room that don't suit my current sofas. I have been waiting for some inspiration to make some new covers for them when I came across some pictures of "crazy quilting" on Pinterest. I just loved this look and decided to give it a try.


I love bright cheery colours and this turned out beautiful. I made three heart squares, one on each row and then the rest were a collage of fabrics.

 I have another cover I am currently working on which is a crochet cover with a roses theme, which I will post about when I have completed it.

I think I will make another crazy quilting cushion cover for the last one. I haven't decided on a theme yet, but I have a few ideas running around in my brain.  I do love the "crazy quilting" with the hand embroidery so I might try some thing like that. I have been practicing some hand embroidery in preparation lol.

Here is my sofa with one new cushion cover.


Thursday 7 August 2014

Crocheting Mania

I have been crocheting granny squares and free-form scrumbles on and off for the past 8 months (I have this big crochet bedspread in mind to make with all the different squares and scrumbles I have made)  I picked up some beautiful colours of balls of wool that were on a sale at spotlight and since I've had this crochet wall hanging idea on my mind for some time now, I decided to give it a go.

I came across this tutorial Tutorial Here for these cute sunburst flower squares to make. To join the granny squares together I used the "continuous join as you go" method.  I crochet little tabs to the top and bottom to allow for wooden dowel to be inserted.

I love all the different colours and the green border just sets it off perfectly.

Wednesday 23 July 2014

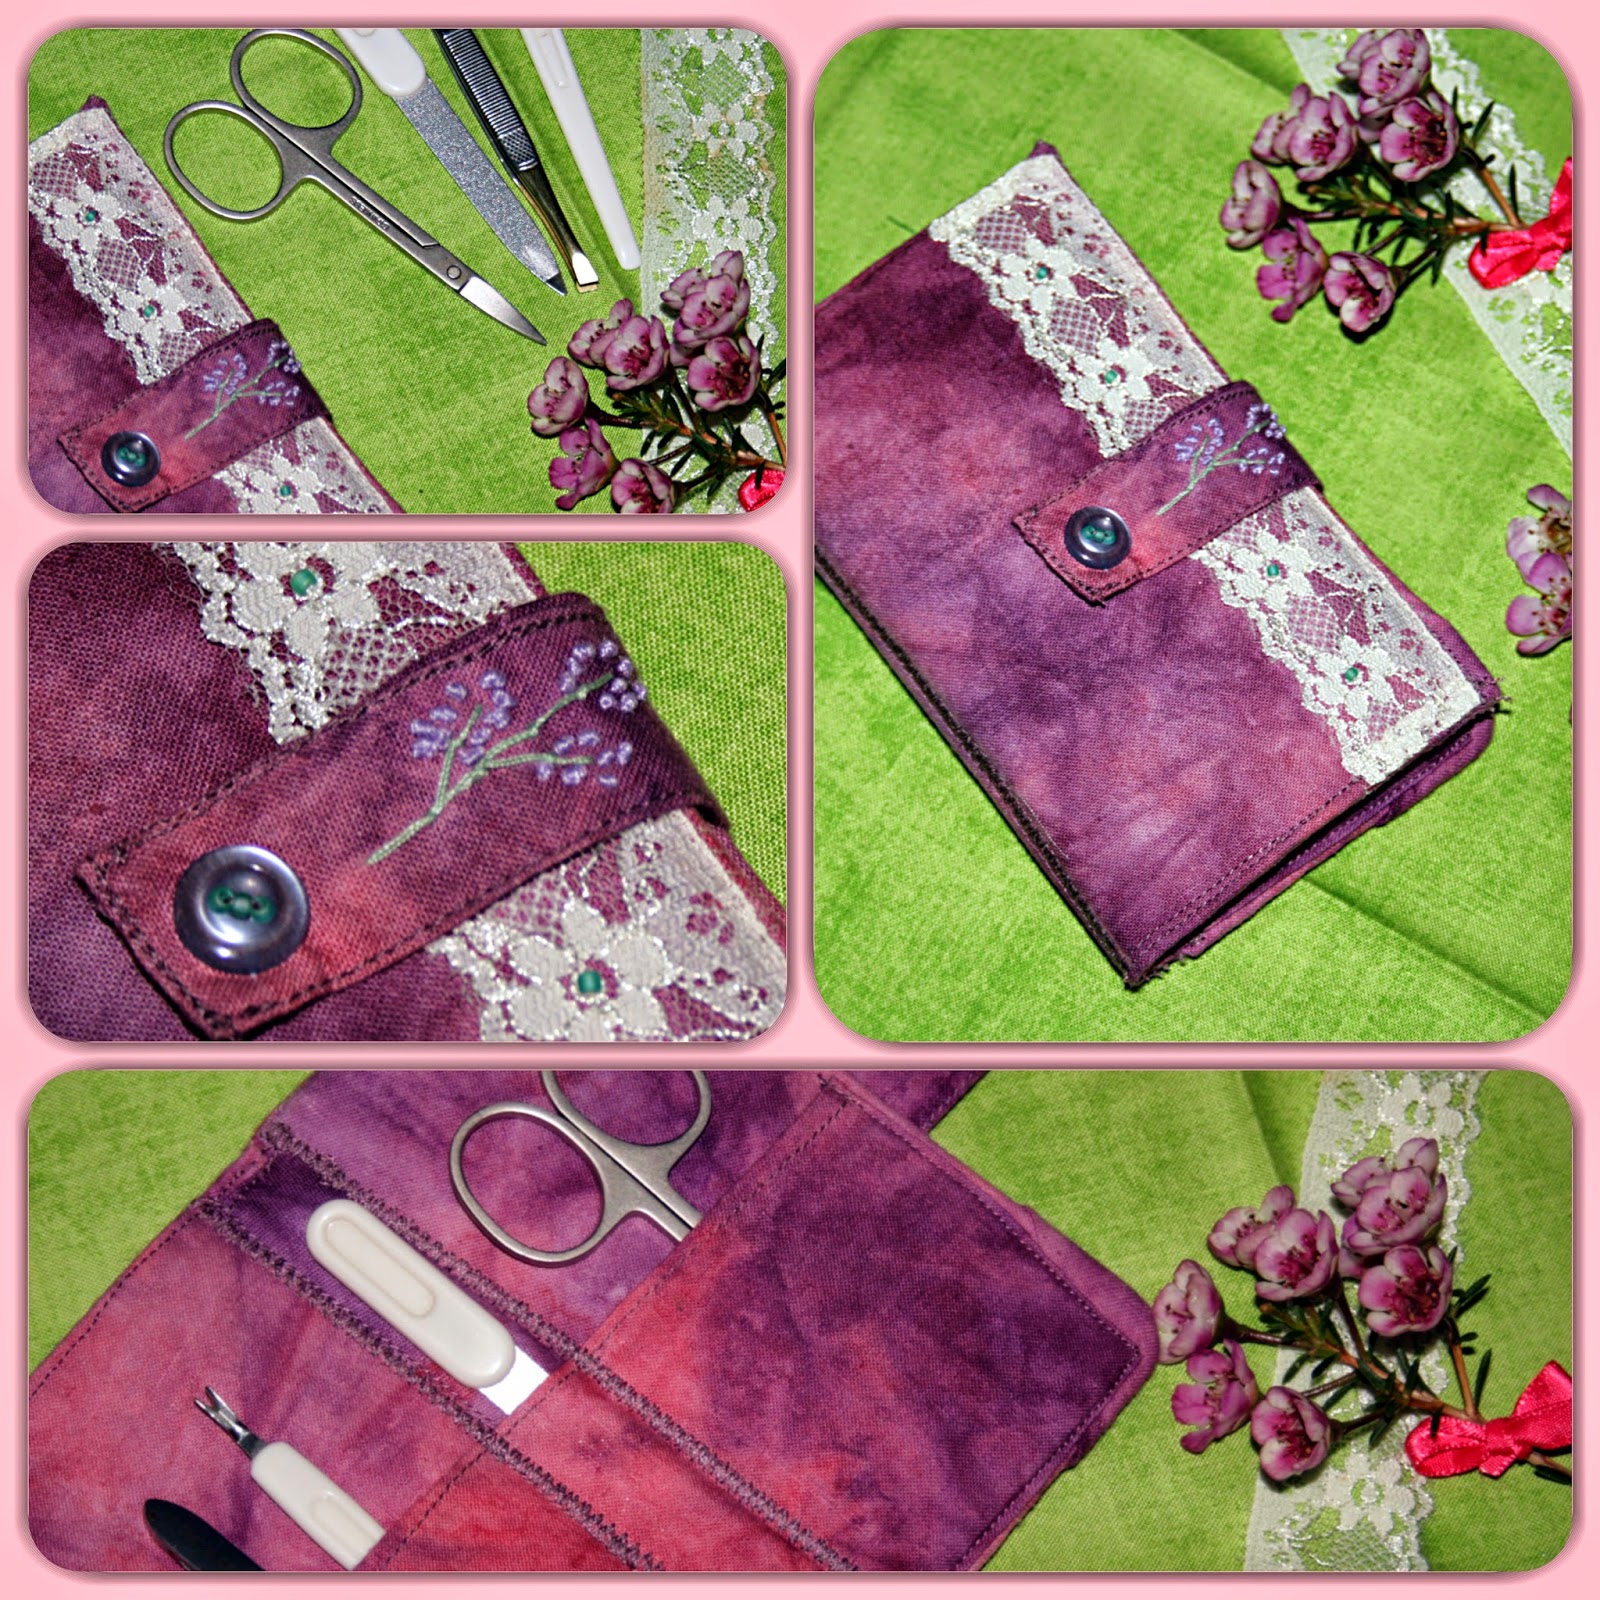
Whimsical Manicure Purse

Today I had no power due to the electrical company doing some work on some power poles nearby!! It was off for around 6 hours, I was not impressed.

On the bright side, it did inspire me to work on a little purse I had made some time ago. I have been wanting to try out some embroidery and this was just the shot.  I thought it turned out really sweet and I decided to practice my photo taking abilities with an all out photo-shoot!!